
The Ultimate Real Estate Photography Shot List Template for Listing Photographers
The Problem Every Listing Photographer Knows Too Well
You're standing in a 3,400-square-foot colonial, the agent is texting you mid-shoot asking whether you "got the mudroom," and you're trying to remember if you already captured the bonus room above the garage. Meanwhile, the natural light in the kitchen is peaking and you have about eight minutes before it blows out.
This is what happens without a solid shot list system — not laziness, not inexperience. Just the ordinary chaos of a fast-paced property shoot with no pre-built framework to lean on.
A reliable real estate photography shot list template doesn't just tell you what to shoot. It reduces on-site decision fatigue, creates a consistent deliverable, gives agents a clear expectation, and makes your post-production workflow faster because everything is already organized before you pick up a camera.
Here's the framework that actually works on the ground.
Why Shot Lists Fail (And How to Fix That)
Most shot list problems fall into one of three categories:
- Too generic. A flat list of room names doesn't account for square footage, layout, or standout features.
- Agent requests get lost. Verbal requests on the phone rarely make it to the field unless they're written down.
- No room for the unexpected. Every listing has a feature worth an extra frame — a built-in bar, a reading nook, a herringbone tile entry. A rigid list ignores these entirely.
The fix is a tiered, room-by-room template that scales to the property and has explicit slots for agent-specified shots.
The Room-by-Room Shot List Framework
Exterior (All Properties)
Every shoot starts outside. Regardless of property size, capture:
- Front elevation — full facade, centered, from across the street or driveway apex
- Curb approach angle — 45-degree driver's-eye view
- Rear exterior — full back of home from lot line
- Outdoor living areas — deck, patio, pool, pergola (each gets its own frame)
- Detail shots — front door close-up, garage doors, architectural details
- Day-to-dusk flag — mark any exterior shot intended for twilight treatment
For the exterior twilight treatment, the workflow is straightforward: shoot your daytime exterior clean and flat, then flag it for a day-to-dusk conversion during post-production. The result replaces the blown midday sky with a warm dusk atmosphere that stops scrollers on listing portals.
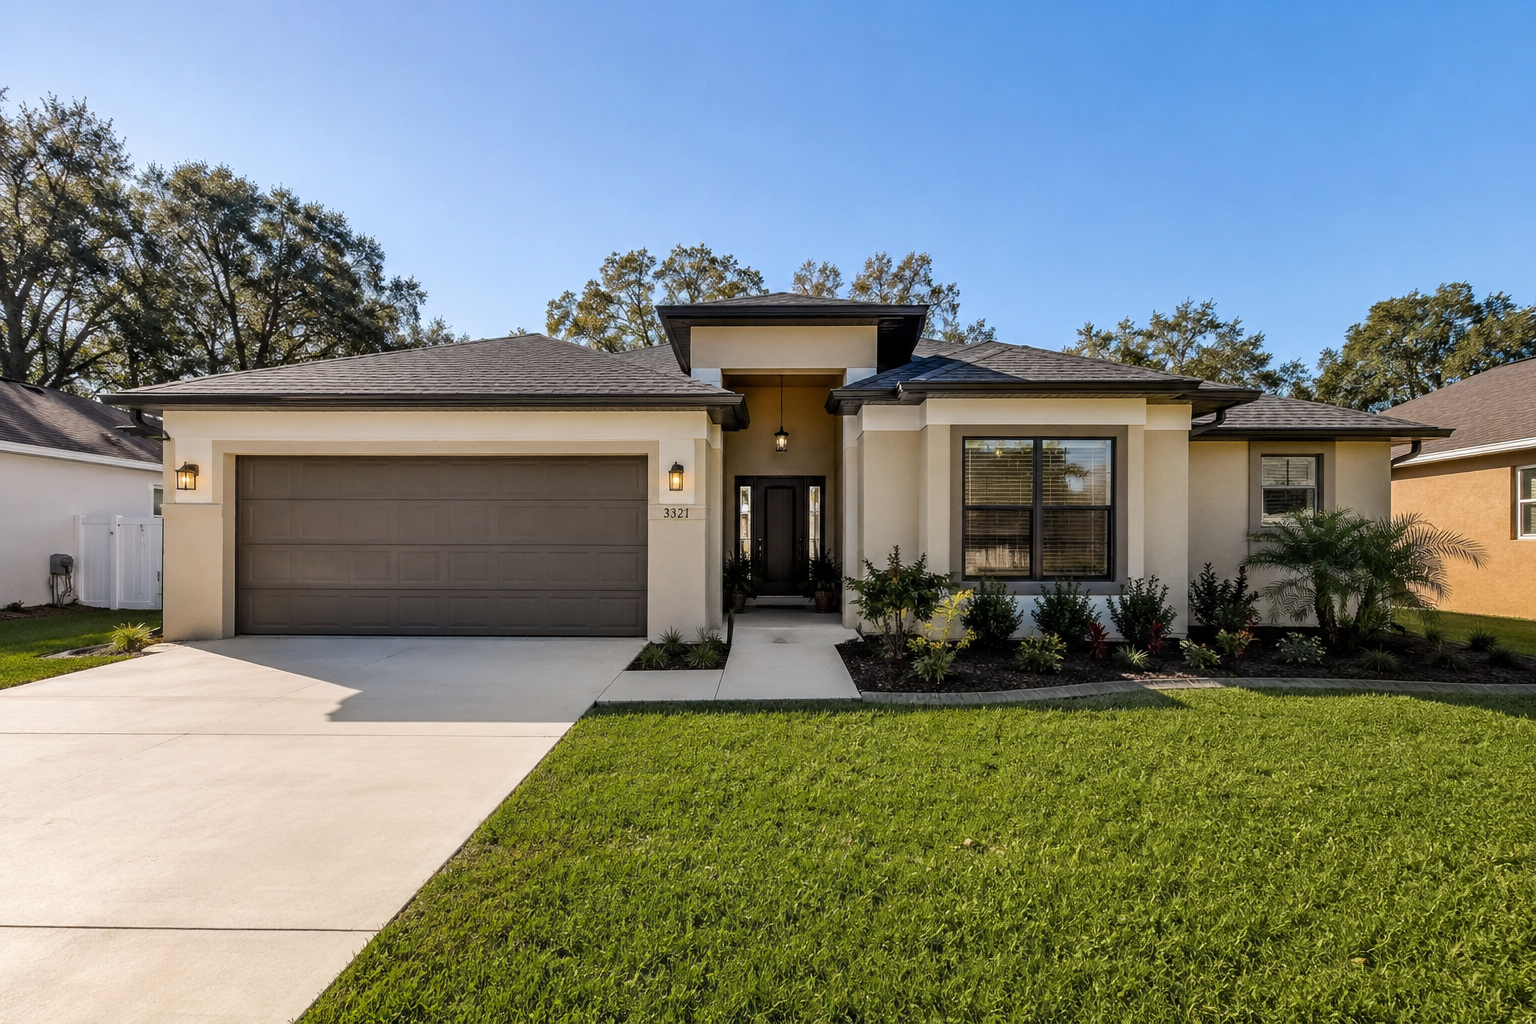 Before: Exterior — daytime capture, flat light
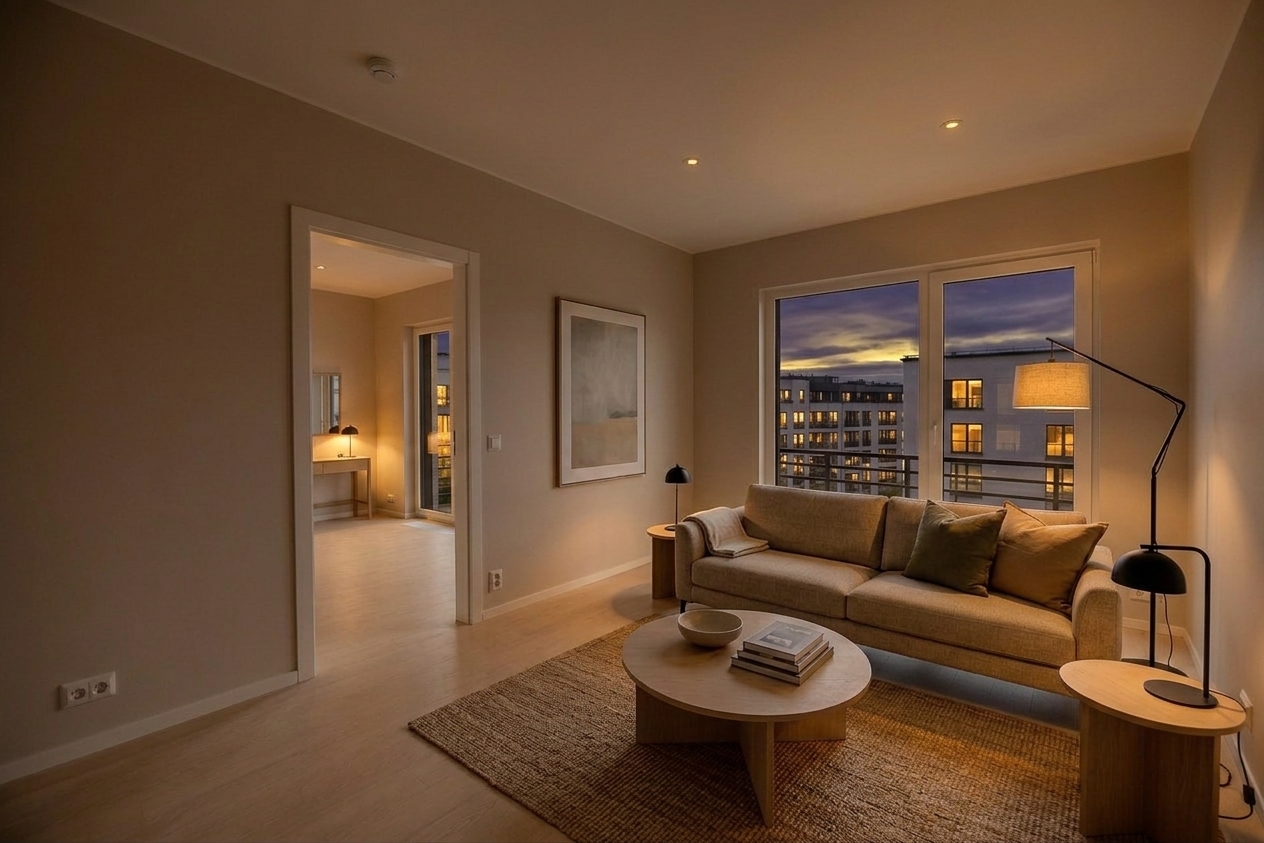 Day to dusk — same frame, twilight sky replacement applied
Day to dusk conversion applied in post. Disclosure: exterior lighting and sky have been digitally enhanced.
Main Living Areas
For living rooms, great rooms, and open-concept spaces:
- Wide establishing shot from the primary entrance angle
- Alternate corner angle — rotate 90 degrees to show depth
- Fireplace feature shot (if present)
- Detail shot — architectural trim, built-ins, flooring
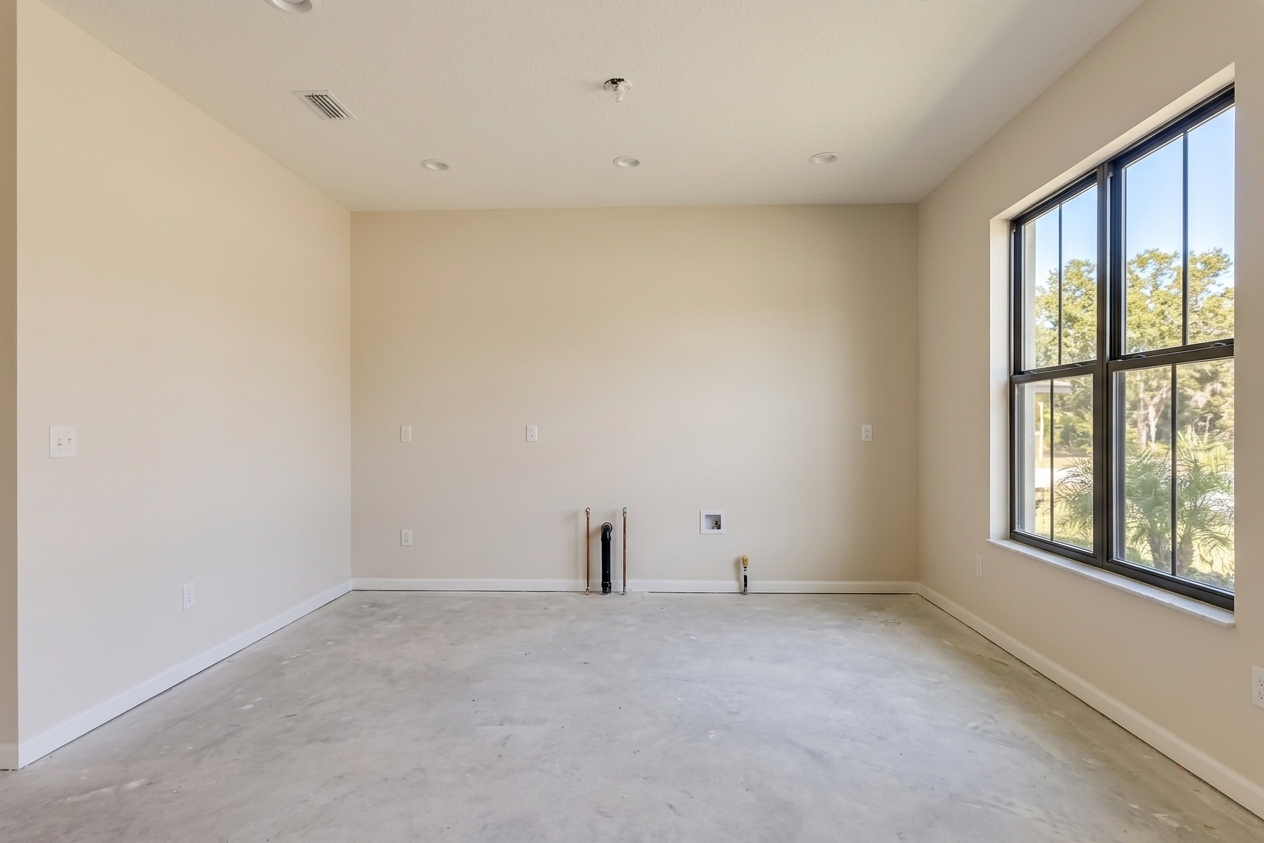
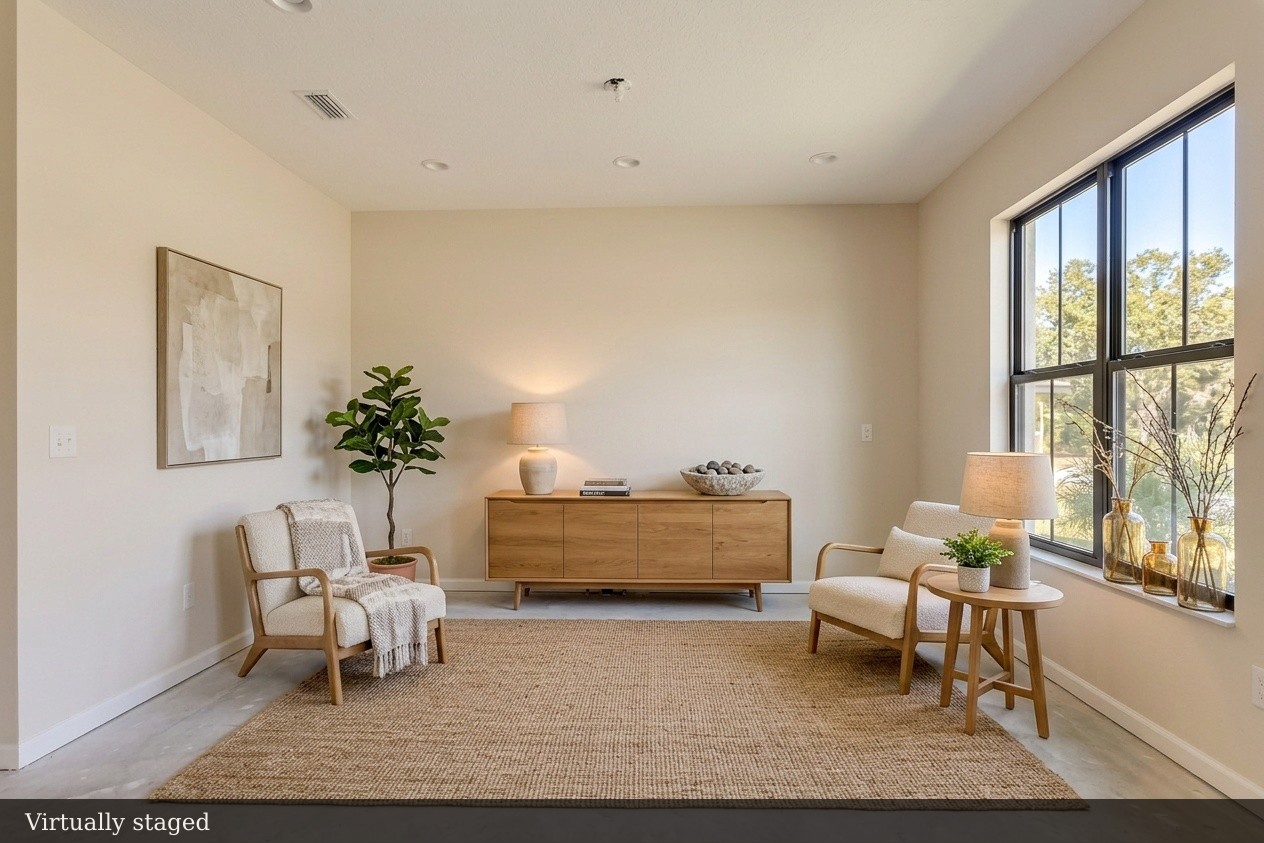
If the room is vacant or sparsely furnished, flag each wide shot for virtual staging review before delivery. This is a critical workflow beat: assign a room type on every photo before generating any staging pass. Labeling the room type (living room, dining room, master bedroom) ensures the staging output matches the function of the space — you don't want lounge furniture dropped into what should read as a formal dining room.
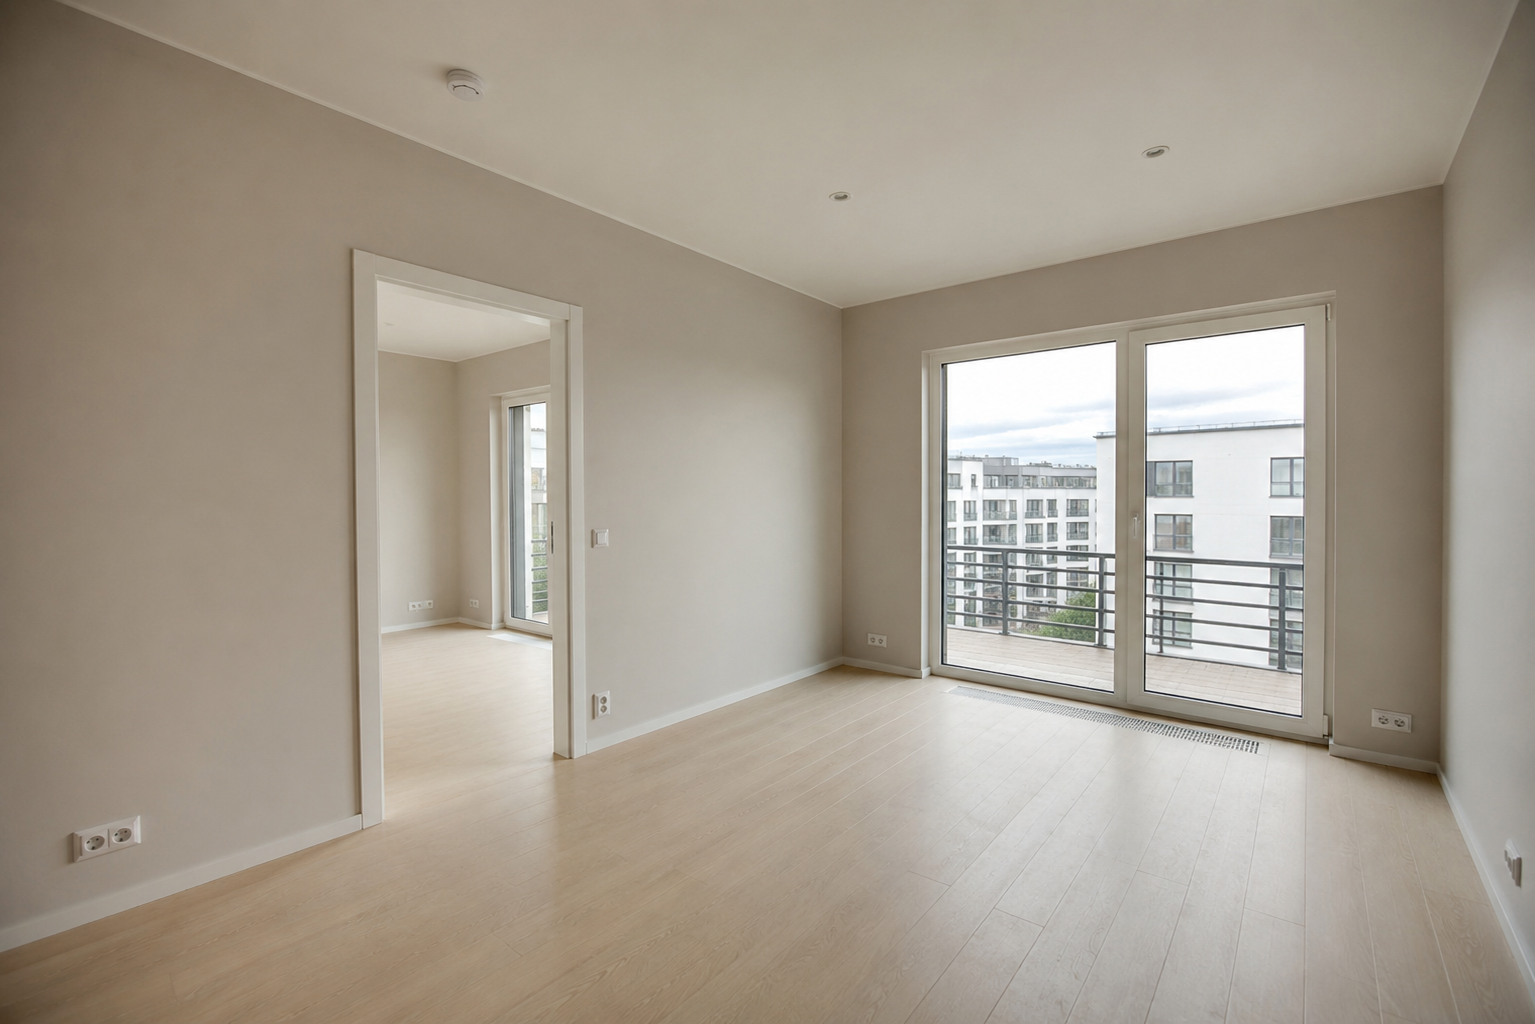 Before: Living room — vacant, natural light only
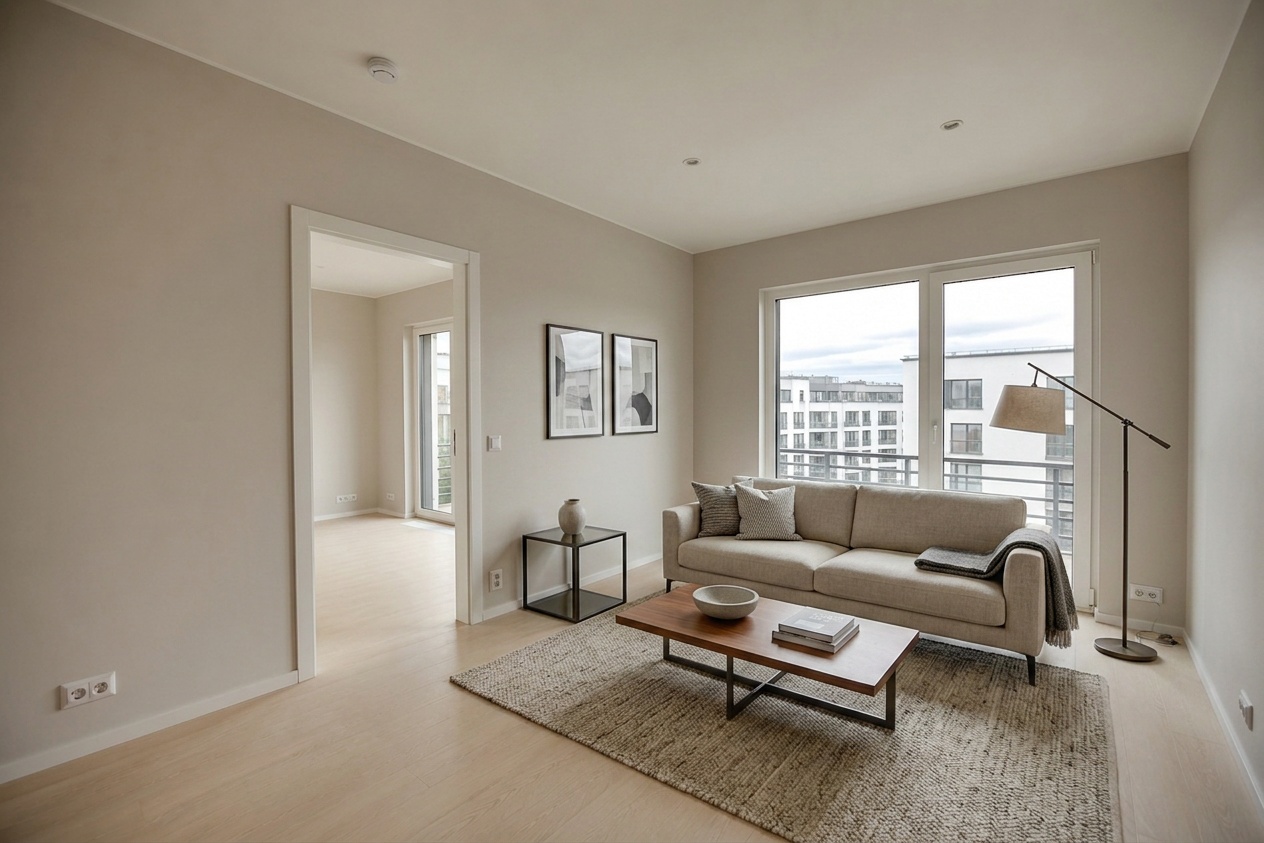 After: Living room — Virtually staged with furniture and decor
Kitchen
The kitchen sells listings. Don't underserve it.
- Wide angle from the entry — shows full layout, island, and appliances in frame
- Opposite corner angle — captures the sink wall and window light
- Detail shots — countertops, hardware, backsplash, range hood
- Eat-in area if adjacent (tag as separate "dining nook" in your shot list)
 Before: Kitchen — empty counters, no styling
 After: Kitchen — Virtually staged with accessories and seating
Bedrooms
For each bedroom:
- Primary wide shot from doorway
- Feature angle — windows, accent wall, closet entry if impressive
- Primary bedroom closet — deserves its own frame if walk-in
Vacant bedrooms almost always benefit from a virtual staging pass. The before-and-after pair gives agents a dual-use asset: the raw photo for disclosure compliance, the staged version for the MLS hero gallery.
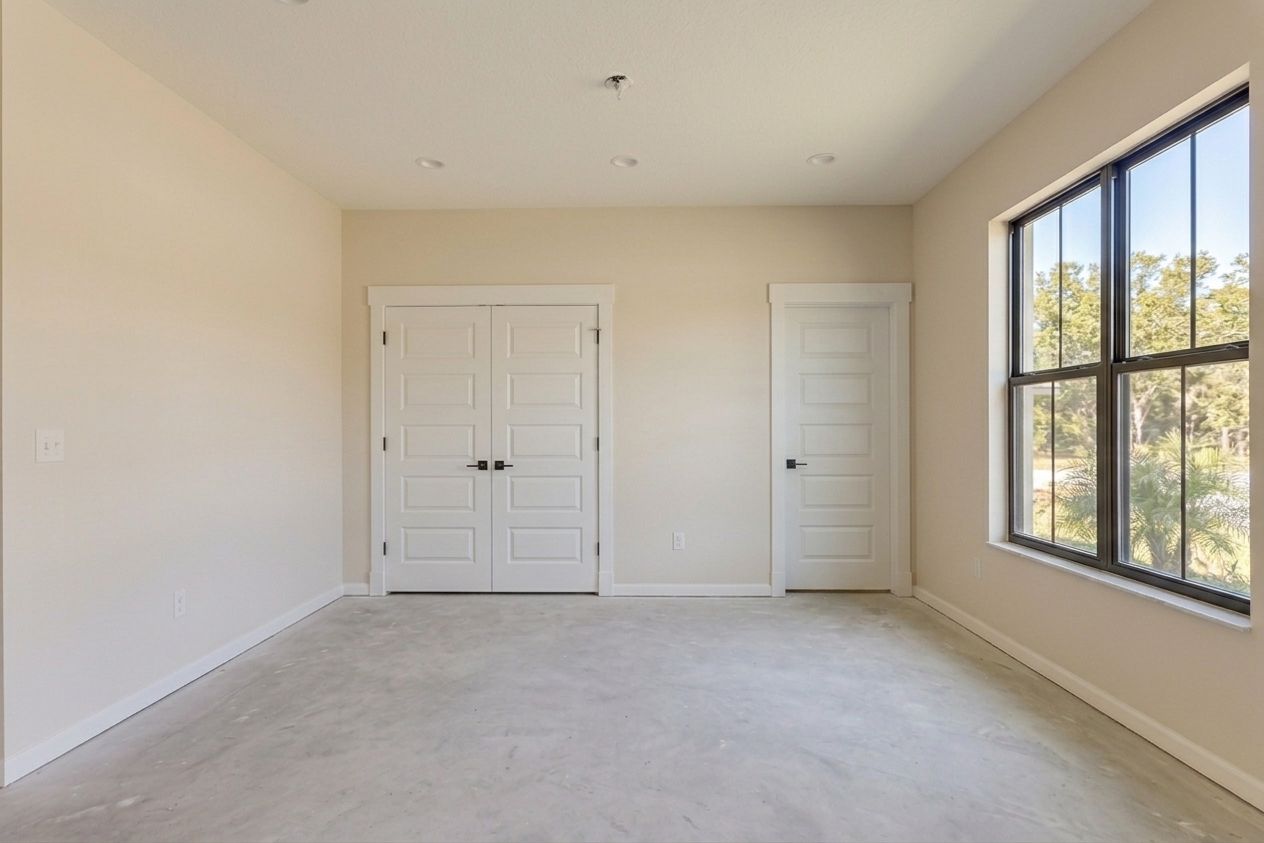 Before: Bedroom — vacant, standard light
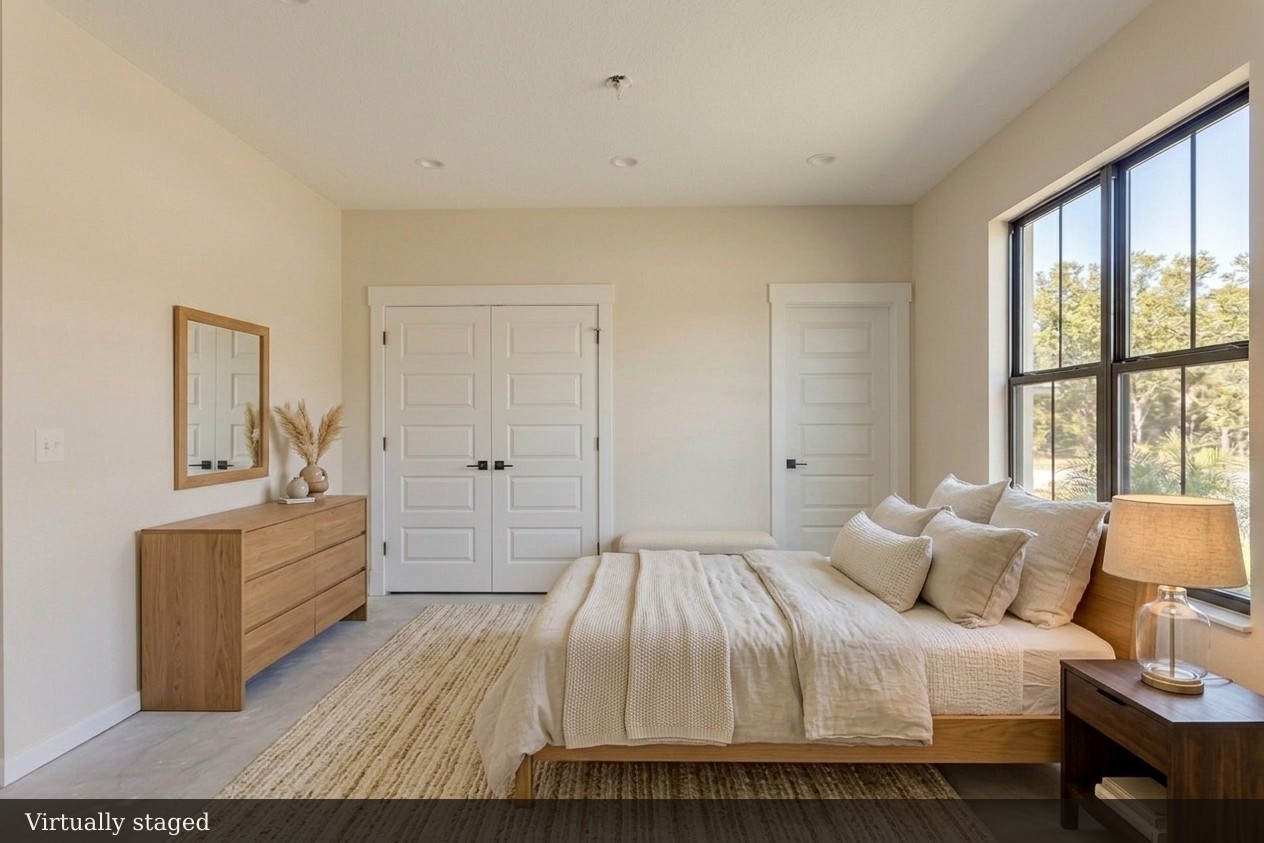 After: Bedroom — Virtually staged. Disclosure: furniture and decor are digitally added.
Bathrooms
- Primary bath: wide corner shot plus detail (vanity, tile, fixtures)
- Secondary baths: one wide shot each unless agent requests more
- Hot tub or spa features: flag for potential staging or enhancement
Bonus Spaces and Agent Special Requests
This is where your template needs a flex section. Before every shoot, collect agent requests in writing and slot them into the list:
- Home office
- Mudroom / laundry
- Basement or finished lower level
- Wine cellar, gym, theater room
- Any feature the agent specifically mentioned on the call
If a request comes in as "make sure you get the butler's pantry," it goes on the list with a checkbox — not into your mental to-do queue.
Scaling the Template by Square Footage
Not every property needs the same depth of coverage. Here's a rough scaling guide:
| Property Size | Estimated Shot Count | Notes |
|---|---|---|
| Under 1,500 sq ft | 20–30 shots | Prioritize kitchen, main living, primary bed/bath, exterior |
| 1,500–3,000 sq ft | 35–55 shots | All rooms, bonus spaces as relevant, 2–3 exterior angles |
| 3,000–5,000 sq ft | 55–80 shots | Every room, multiple angles in primary spaces, detail shots throughout |
| 5,000+ sq ft | 80+ shots | Treat each wing as its own zone; use sub-lists per floor |
The Delivery Workflow That Closes the Loop
A shot list is only as good as the delivery it feeds into. Once the shoot is wrapped and post-production is complete, structure your delivery so agents can actually use what you've sent:
- Labeled stills folder — organized by room, matching the shot list structure
- Staged or enhanced versions clearly marked with a disclosure label ("Virtually staged" or "Day to dusk" in the filename or caption)
- Tour assets separated from stills so agents don't accidentally upload video thumbnails as listing photos
- Disclaimer file included in the ZIP — one plain-text file noting which images have been digitally enhanced
This structure also protects you professionally. When an agent asks "which ones are staged?" you have a clear paper trail.
Build the Template Once, Use It on Every Listing
The goal of a solid real estate photography shot list template isn't to make every shoot identical — it's to make every shoot complete. You walk in with a framework, adapt it to the property in the first five minutes, check off rooms as you go, and leave confident you haven't missed anything the agent asked for.
If you're already using a platform like Itsbundle to manage virtual staging, day-to-dusk treatments, and final delivery, your shot list can map directly to your production workflow — room labels carry through from capture to output, and your delivery package is structured before you even start editing.
Ready to put this into practice? Start your next listing with a clean workflow and see how much faster the whole process moves when the framework is already built.