
Manual vs. Auto HDR Blending for Real Estate Photos: A Real Estate Photography HDR Blending Tutorial
The Problem Every Listing Photographer Knows
You walk into a living room with a wall of windows, bright afternoon sun blasting through the glass, and a dark interior that your camera simply cannot capture in a single frame. You bracket three to five exposures, come home with a folder full of raw files, and then the real question hits: do you run Lightroom's automated HDR merge and call it done, or do you open Photoshop and spend twenty minutes on luminosity masks to get the window pull just right?
This is the central tension in any real estate photography HDR blending tutorial worth reading. Both tools are legitimate. Neither is always the right answer. The gap between a rushed auto-merge and a carefully hand-blended interior is visible to any agent who has seen enough listing photos — and it is absolutely visible to buyers scrolling on their phones.
Let's break down when each approach earns its place in your workflow.
What Lightroom's Automated HDR Merge Actually Does
Lightroom's Photo Merge > HDR function aligns your bracketed frames, deghosted them if anything moved between shots, and tone-maps the combined file into a single 32-bit raw-equivalent DNG. From there you edit it like any other raw file.
When Auto-Merge Works Well
- Simple bracket sets — three exposures with a clean, static scene and no harsh window contrast
- High-volume shoots — twelve or more rooms where you need consistency and speed
- Flat or overcast exterior light — less dynamic range to manage means the algorithm has fewer decisions to make
- Batch consistency — running the same merge settings across an entire shoot produces uniform starting points
When Auto-Merge Lets You Down
The algorithm does not know what matters in the frame. It will average brightness across zones in ways that leave windows blown and foreground walls muddy. It also struggles with:
- Strong window pull scenarios where you need the exterior view to read clearly while keeping the interior balanced
- Mixed light (flash-ambient blending) where a strobe-lit foreground needs to sit on a naturally lit background
- Ghosting from curtains, ceiling fans, or exterior tree branches that moved between your bracket shots
Luminosity Masking in Photoshop: The Manual Approach
Luminosity masking isolates pixels by their brightness value, which makes it a precision tool for real estate interiors. You are not painting a rough selection around a window — you are targeting exactly the tonal range where the blown highlights live, and replacing only those pixels with data from a darker exposure.
A Practical Luminosity Mask Workflow for Interiors
- Stack your exposures — Align and auto-blend in Photoshop, then discard the auto-blend result but keep the aligned layers. You want your ambient exposure on the bottom and your darkest (window) exposure on top.
- Build your lights mask — Go to Channels, Cmd/Ctrl-click the RGB composite to load a luminosity selection. This selects the brightest pixels proportionally.
- Refine for window pull — Run the selection through Calculations two to three times to concentrate it on the true highlights only. The goal is a mask that protects the bright window zone and transitions naturally into the wall.
- Apply the mask to your dark layer — With the refined selection active, add a mask to your window-exposure layer. The bright window data from your darker frame now blends through only where the original was blown.
- Finish with Curves — A subtle S-curve on a merged-visible layer brings the whole image into a natural balance without flattening the depth.
This process takes longer than clicking merge in Lightroom, but it gives you pixel-level control over every transition.
Flash-Ambient Blending: Where Both Methods Get Complicated
Many photographers shoot a flash-lit ambient frame as their base exposure and then blend in a dark ambient-only frame for the window. This is not traditional HDR bracketing — it is a two-image composite — and Lightroom's merge tool is not built for it.
In Photoshop, the workflow is straightforward:
- Layer 1 (bottom): Flash-ambient base — correctly exposed interior, blown windows
- Layer 2 (top): Ambient-only dark frame — correct window exposure, dark interior
- Mask on Layer 2: Luminosity mask targeted at the window zone only
The result: a flash-balanced room with a properly exposed exterior view reading through the glass. This is the approach that makes listing interiors look like they were shot by a production team rather than a single photographer.
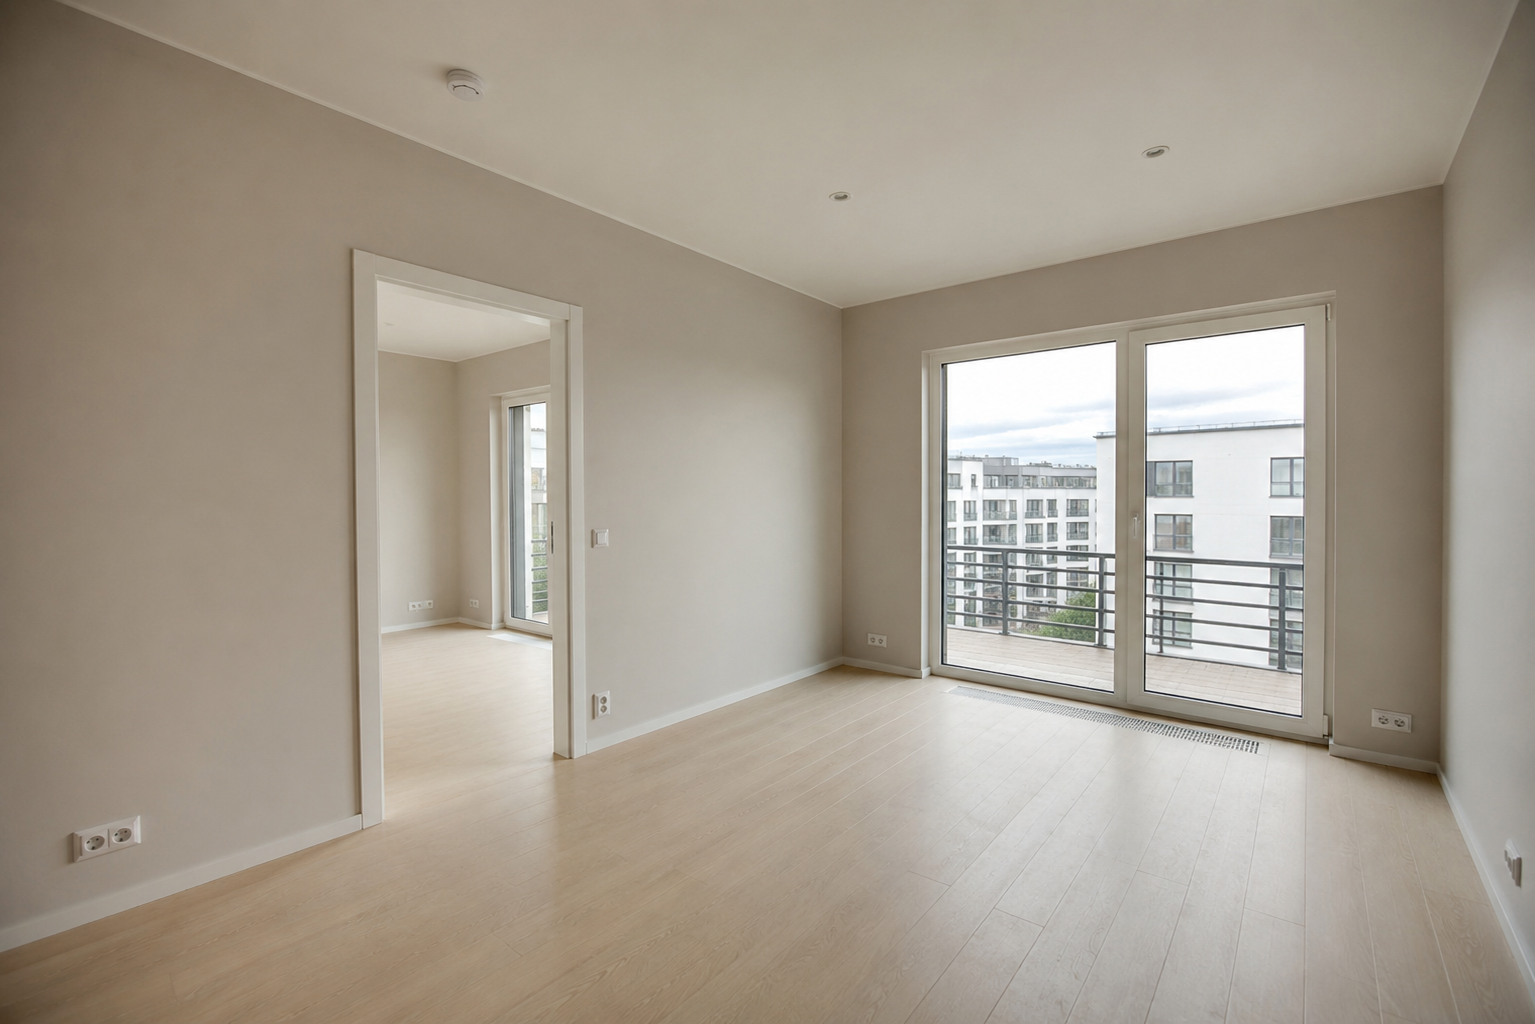 Before: Living room captured with challenging window light and unbalanced interior exposure.
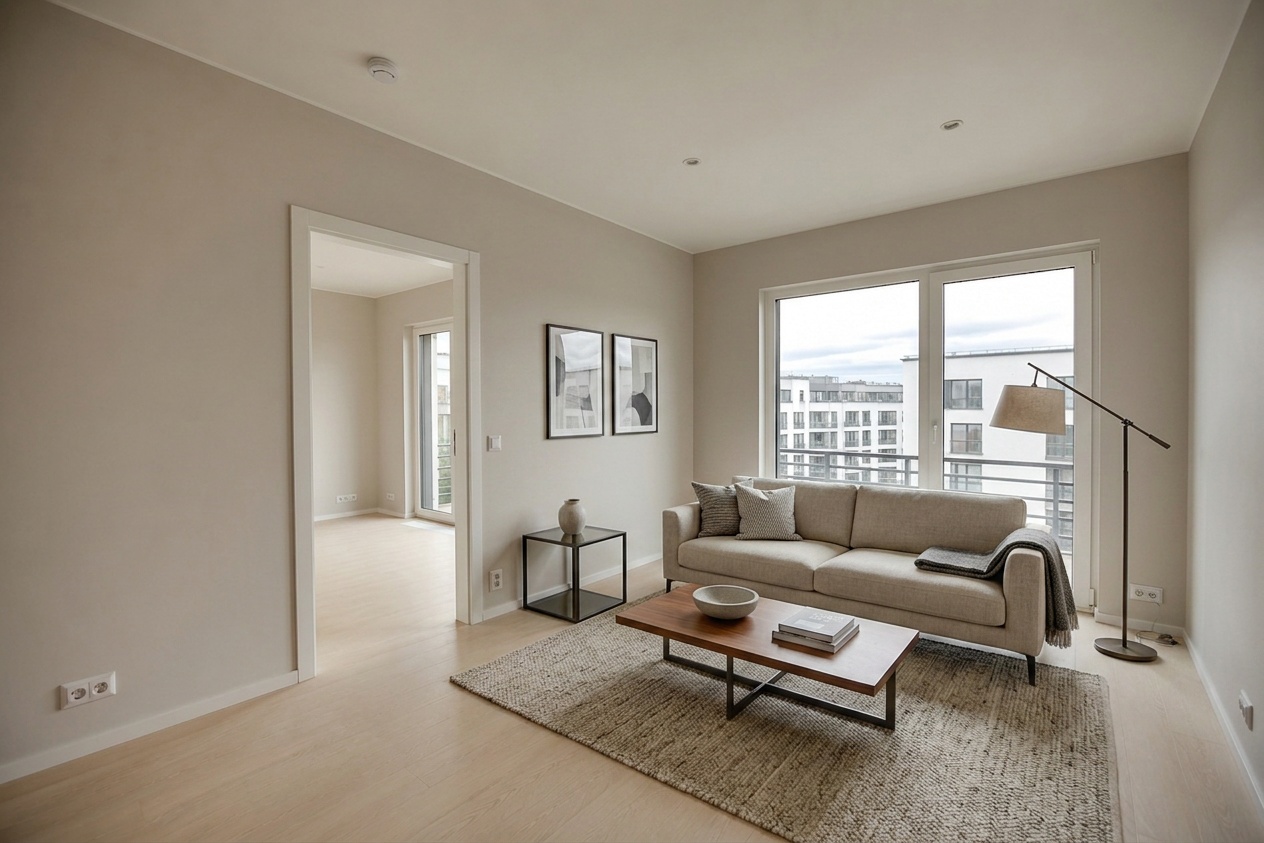 After: Virtually staged and HDR-blended result. Window detail is preserved while the interior reads cleanly.
Disclosure: Virtually staged image shown above. Always label delivered assets clearly for your agents.
Choosing Your Approach Room by Room
A practical rule: let the complexity of the window situation decide your tool.
| Room Scenario | Recommended Approach |
|---|---|
| Overcast exterior, low contrast | Lightroom Auto Merge |
| Sunny exterior, moderate window | Lightroom + manual Highlights recovery |
| Bright exterior view, must be visible | Photoshop luminosity mask |
| Flash-ambient two-frame composite | Photoshop only |
| High-volume corridor or bathroom | Lightroom Auto Merge |
For a master bedroom with a garden view, you probably want the manual approach. For a hallway with a single small window, auto-merge and a Highlights slider will get you home.
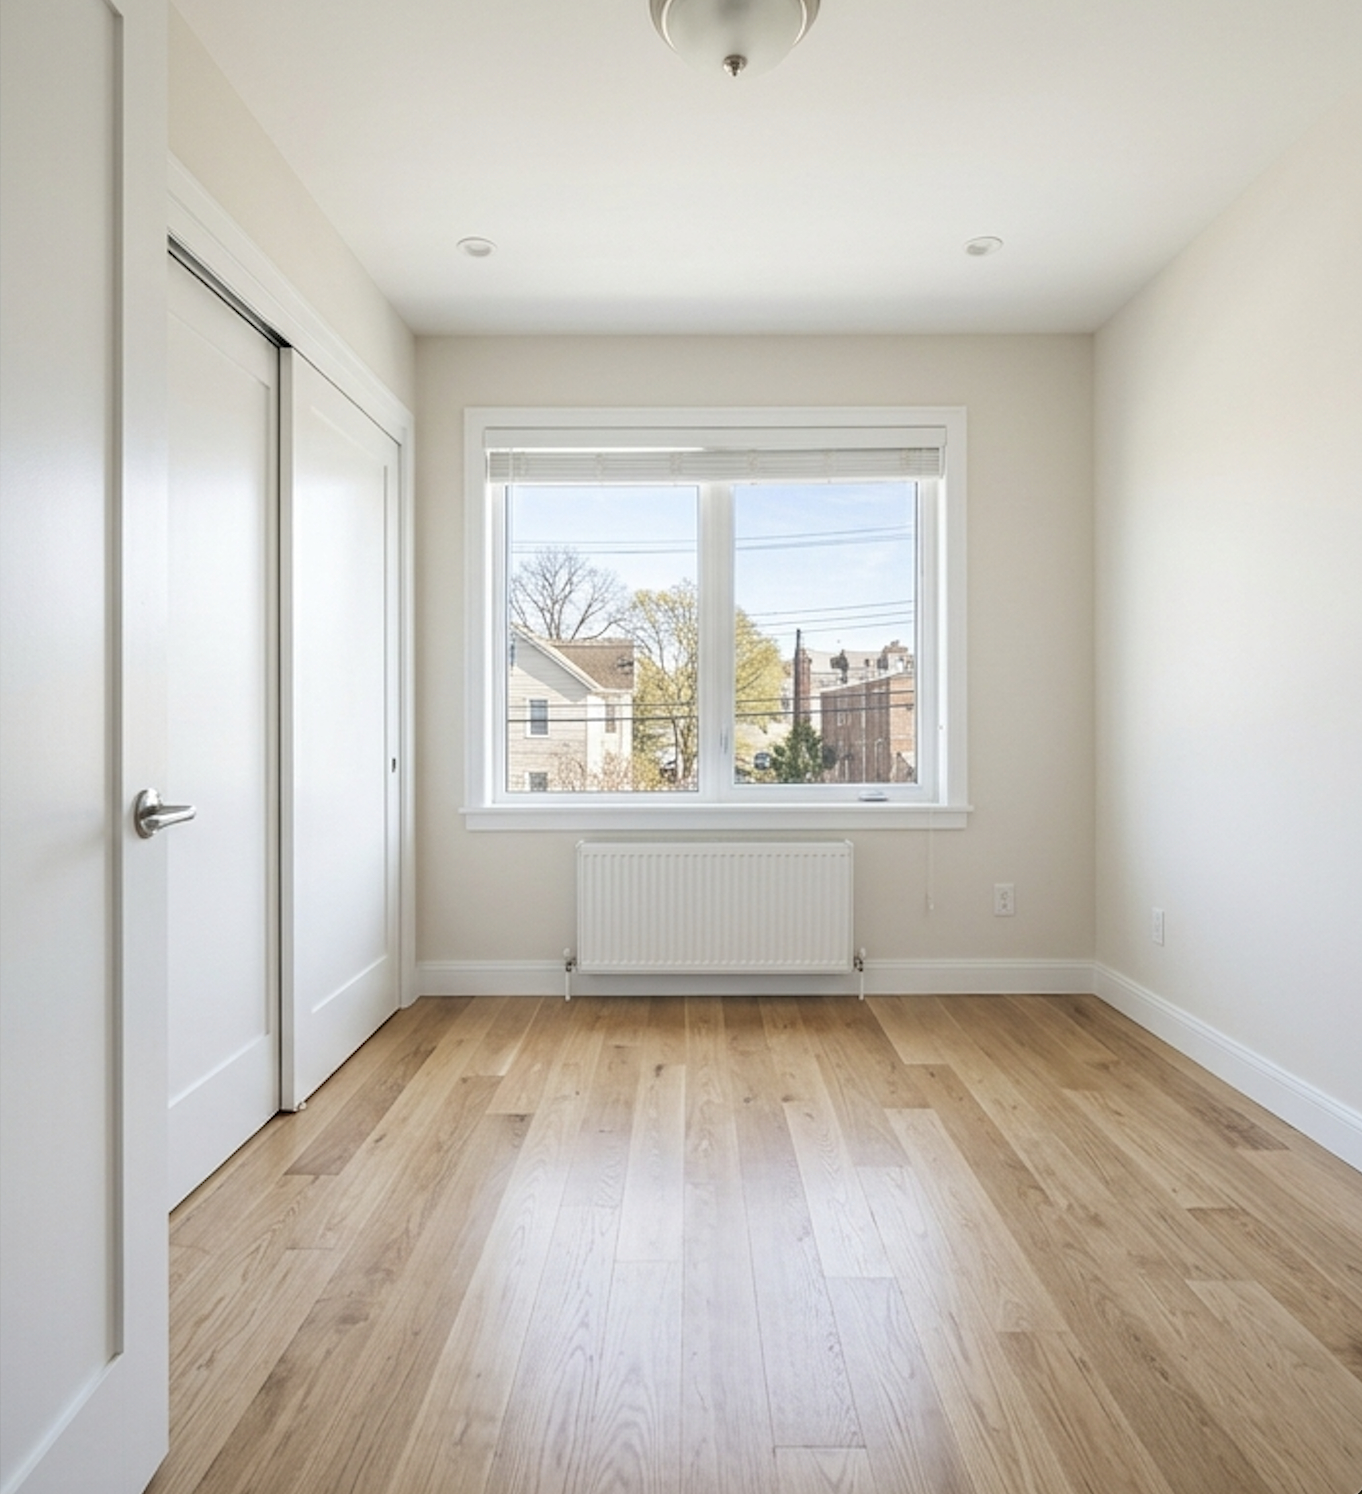 Before: Interior with uneven lighting across multiple zones.
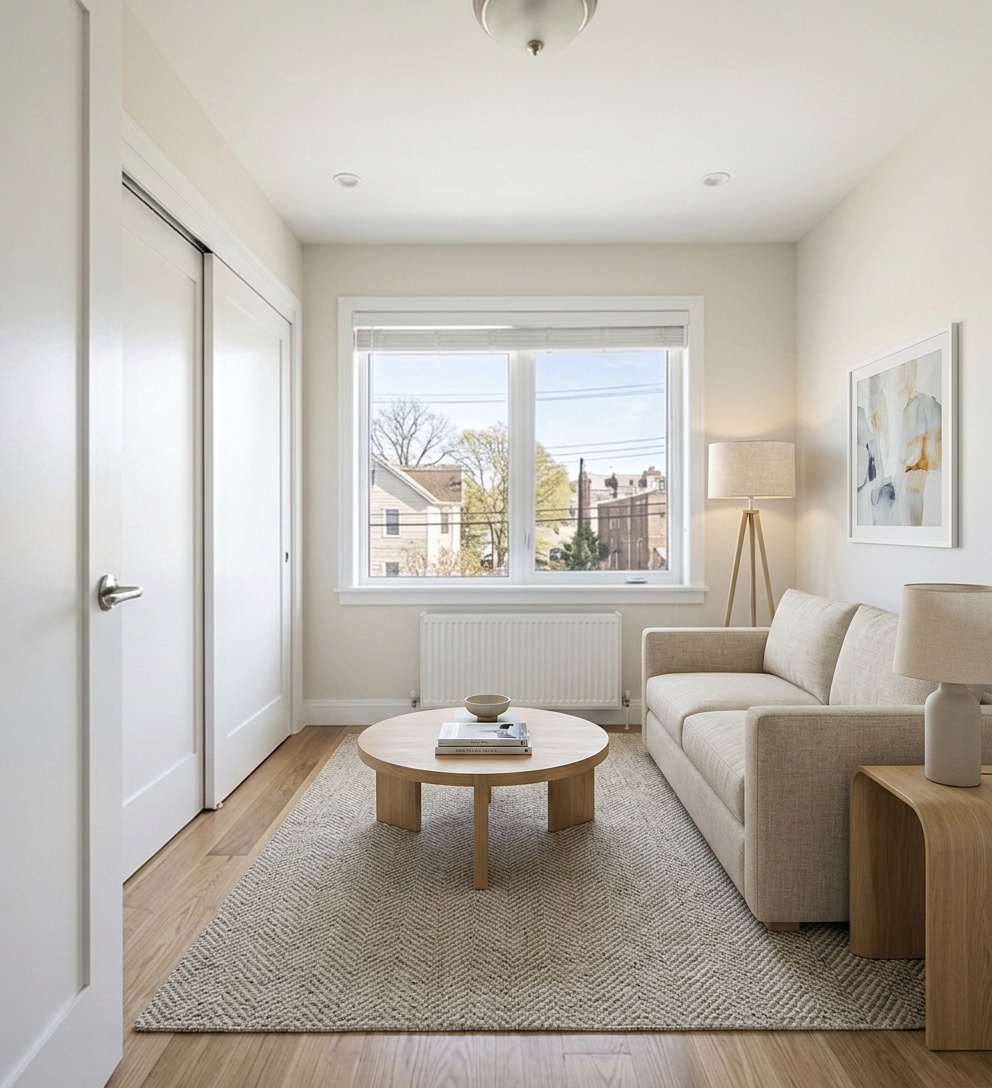 After: Balanced interior result with detail retained throughout the tonal range.
Delivery and Labeling: The Last Step That Protects You
However you blend your files, delivery discipline matters as much as the edit. One concrete workflow beat that serious listing photographers have adopted: assign a room type to every photo before you generate any deliverable. This keeps your output organized, ensures nothing gets skipped, and gives agents a labeled set they can actually use.
A clean delivery ZIP should include labeled stills organized by room, any video clips clearly separated, a virtual tour link if applicable, and a disclaimer note for any images that have been virtually staged or had a day-to-dusk treatment applied. Agents appreciate the organization; MLSs and listing platforms increasingly require the disclosure.
When your HDR blending is solid and your delivery package is clean, you look like the professional who has done this a thousand times — because your output reflects exactly that level of care.
Wrapping Up
There is no universal answer to the manual-versus-auto debate in real estate photography HDR blending. Lightroom's merge tool is fast, consistent, and genuinely good for straightforward interiors. Photoshop luminosity masking is slower, more precise, and necessary whenever window pull or flash-ambient compositing is on the table.
The photographers who produce the most polished listing work are the ones who recognize which tool the scene demands — not the ones who default to one method for every room.
If you want to see how this kind of attention to detail pays off across a full listing workflow — from shooting through editing to final delivery — explore what Itsbundle offers for listing photographers and start a listing to see the process firsthand.